Most drivers hand over the keys for an inspection with no real idea what the person in the bay is about to look at. You sit in the waiting room and hope.
Here is the good news: a Missouri safety inspection is not a judgment call. It is a written checklist, spelled out item by item in the state’s inspection rules, so the reasons a vehicle gets rejected are published in advance. Know that list and you can clear most of the easy failures in your own driveway the weekend before.
The same statewide list applies to a Missouri safety inspection in Osage Beach and to a car inspection at Lake of the Ozarks booked from Lake Ozark, Camdenton, Sunrise Beach, Laurie, or Eldon. Here is what the bay actually rejects.
What a Missouri safety inspection actually checks
The inspection is done by a licensed inspector or mechanic at an authorized station, and the scope is fixed. Missouri’s driver guide lists the equipment as brakes, at least two white headlights, at least two red taillights and reflectors visible from 500 feet, manufacturer-installed turn signals and brake lights, a steering mechanism without too much play or binding, tires and wheels that are not bald or mismatched, safety glass, and the windshield viewing area.
The full state rules go further and add the suspension, the wheel bearings, the exhaust system, the horn, and the wipers. Whether you need one at all is a separate question, since Missouri exempts vehicles with less than 150,000 miles for the ten-year period following their model year. Once your vehicle is past that, it needs a certificate of inspection and approval from an authorized station.
Why cars fail Missouri inspection, starting with tires and wheels
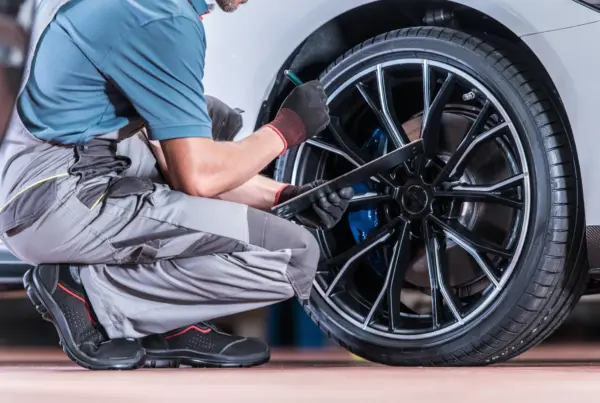
Tires are the most visible thing on your car and still one of the most common reasons cars fail Missouri inspection. What surprises people is the wording: for passenger vehicles it does not hang on a single tread number. A vehicle is rejected if a tire is worn at any location other than the wear indicator to the point where there is no tread configuration left.
That matters at the Lake. A tire worn smooth on one shoulder, the way an out-of-alignment vehicle or a loaded tow rig wears it, fails even though the rest of the tread looks fine. Our walkthrough on how to inspect your tires covers what to look for, and since rubber can age out before it wears out, learning how to read the age of your tires helps too.
The rule also rejects a tire for:
- A localized worn spot that exposes the cord
- Any cut or separation that exposes the cord when the tire is inflated
- Any knots in the tire
- A radial and a nonradial tire on the same axle
- Tires marked reject, not for highway use, or farm use only
Wheels get their own look. Loose, missing, or damaged studs, nuts, or lugs will fail a vehicle, as will rims that are bent, sprung, or cracked.
Brakes: the deepest part of the inspection
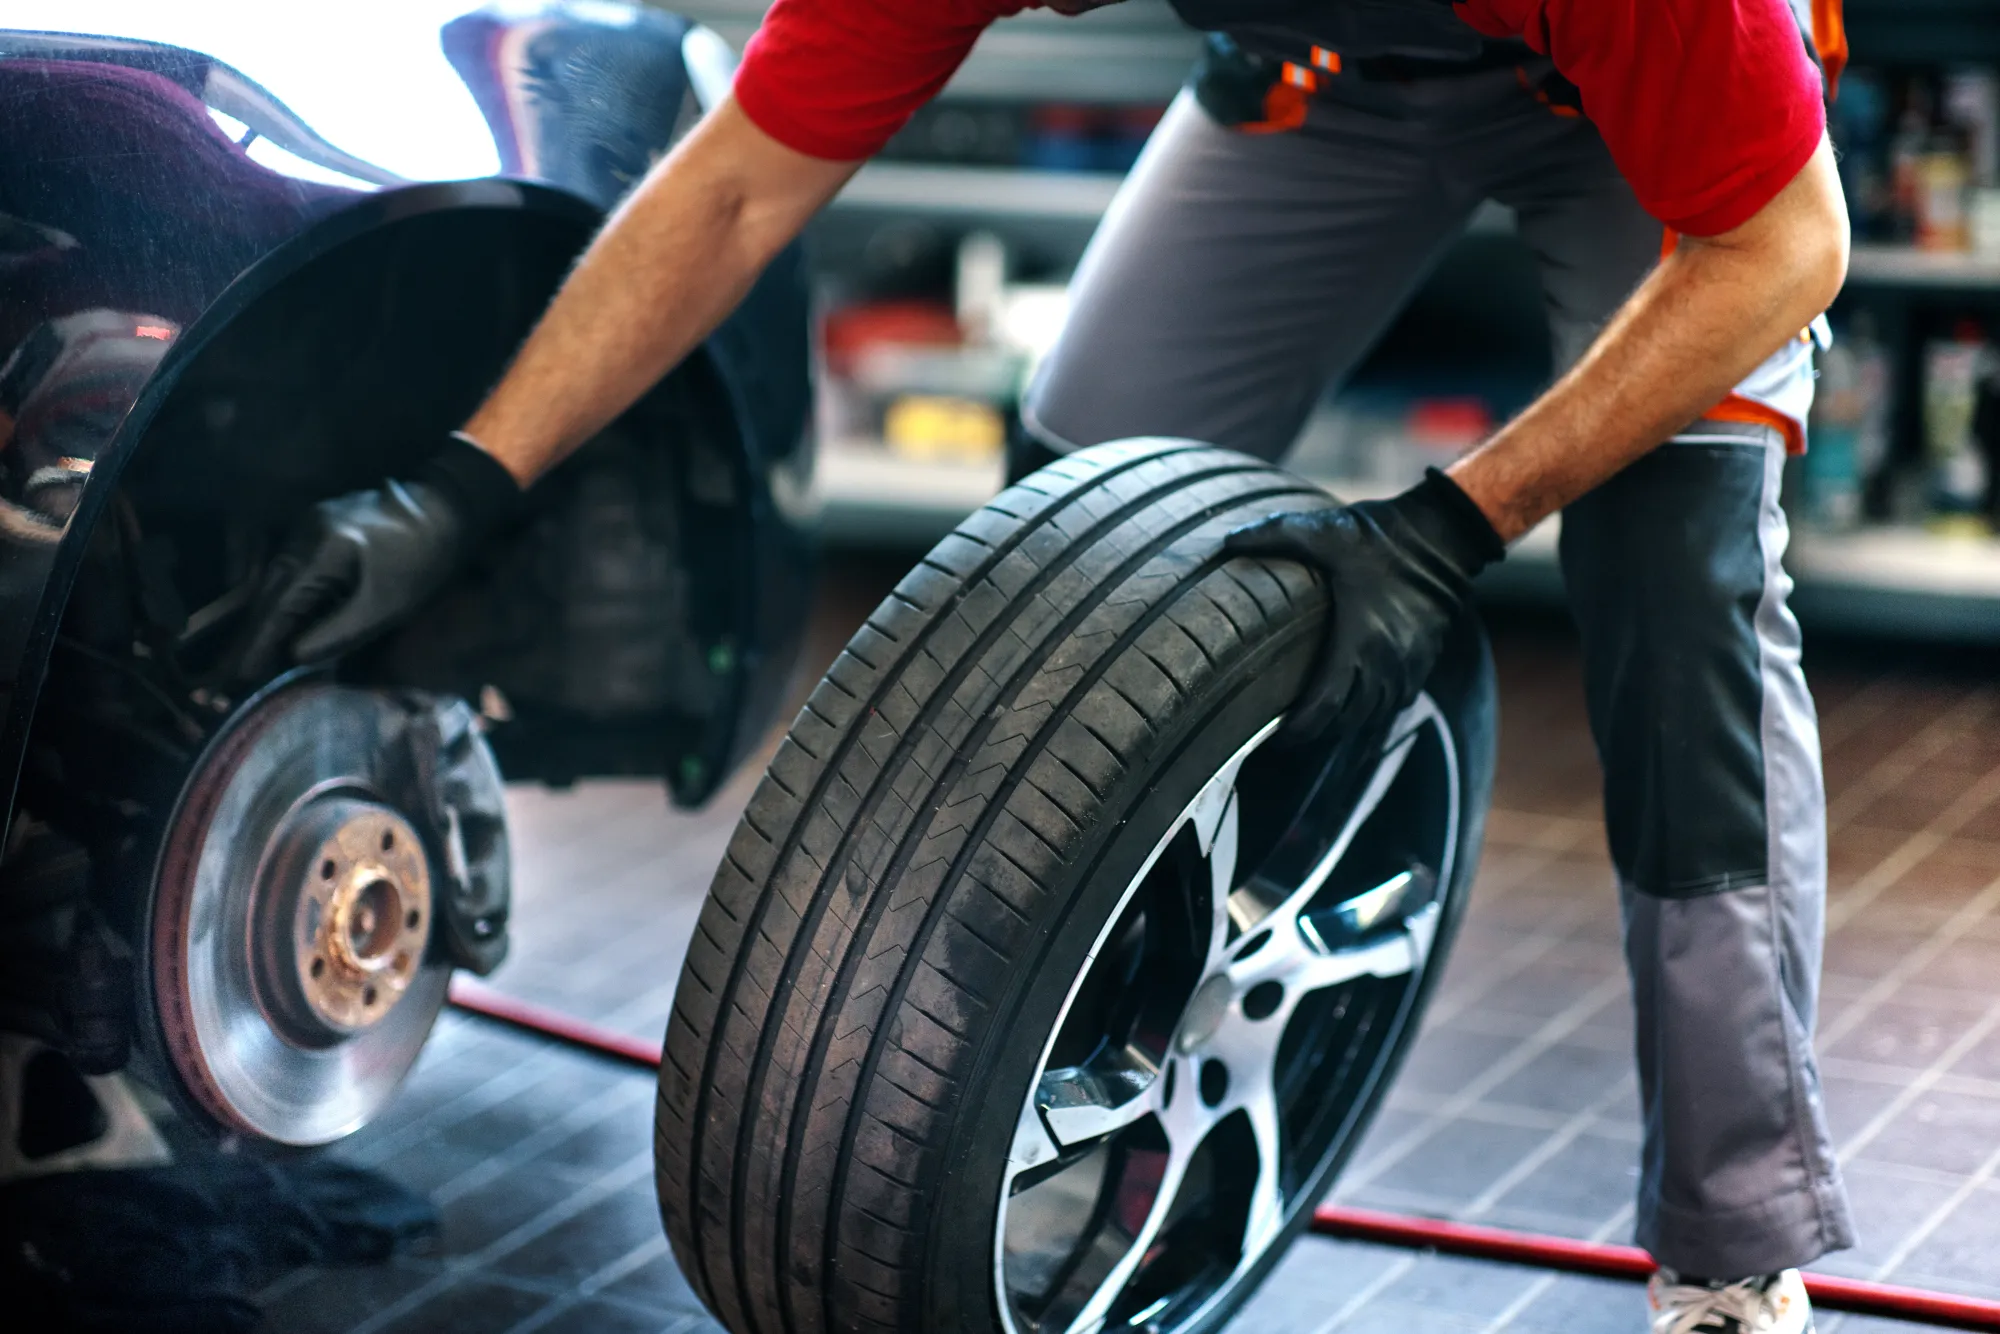
Brakes are where an inspection stops being a walk-around and becomes shop work. On a passenger vehicle or a half-ton or three-quarter-ton pickup, at least one wheel and drum has to come off so the inspector can see inside, though only the wheel comes off on disc brakes. If the station runs the performance test on an approved computerized brake testing machine, no wheel comes off at all.
Once the wheel is off, brake material is measured, not eyeballed. The rule sets thresholds in 32nds of an inch:
- Bonded lining rejected below 2/32 inch at its thinnest point
- Riveted lining rejected below 2/32 inch above any rivet head
- Bonded pads rejected below 2/32 inch at any one point
- Riveted pads rejected below 6/32 inch at any one point
That “at any one point” wording catches people. A pad can have plenty of material across most of its face and still fail on one thin spot from a sticking caliper.
Contamination and leaks matter just as much. A pad, rotor, lining, or drum contaminated with oil, grease, or brake fluid fails, as does a caliper leaking enough to cause droplets, or hoses that are cracked, chafed, flattened, or loose.
The hydraulic side is checked from the driver’s seat. The vehicle fails if the pedal sinks toward the toe board while steady pressure is held for one minute, if less than one-fifth of total pedal travel remains, or if the brake warning light comes on when the pedal is pressed.
The brakes then get a performance test at 5 to 20 mph, by decelerometer, drive-and-stop, testing machine, or dynamometer. The vehicle fails if the brakes do not function or if it pulls significantly to one side.
If you pull a boat up the MO-54 grades all summer, take this section seriously. Loaded stops on a hill eat brake material far faster than commuting, and a truck that felt fine over Memorial Day can measure thin by fall. We wrote about what towing heat does to your brakes and cooling system if that is your summer. If the pedal already feels different than it did in May, have the brakes looked at before the inspection.
Glass and wipers: where the damage is matters as much as how big it is
This is the section that causes the most arguments at the counter. Windshield damage is not judged only by size. It is judged by location.
The rules define the driver’s vision area as everything within the normal sweep of the wiper blades, above a line four inches from the bottom of the windshield. Inside it, a vehicle is rejected for:
- Any crack exceeding three inches in length
- Any unrepaired star break, bull’s-eye, or half moon
Outside that area the standard loosens: those same breaks fail only when more than two inches across. Outright breakage, missing pieces, or a break exposing sharp edges fails anywhere on the glass.
In practice, a rock chip picked up on a gravel drive off Highway 5 may be survivable low on the glass and outside the wiper path, while the same chip inside the wiper sweep, left unrepaired, stops the car. Getting a chip repaired early is far easier than the night before.
Wipers are simpler and get missed constantly. A vehicle fails if the wipers do not work, if the rubber element is torn, if blades or arms are missing or badly damaged, or if the blades do not contact the glass firmly. Lake summers are hard on rubber, and blades that baked through July turn a clean vehicle into a return trip.
Lamps and signals: the fastest failures to head off
Lighting rejections are frustrating because they are so easy to prevent. A required light that does not work fails, and so does a lens that is missing, wrongly installed, repaired with tape, or broken enough to let moisture reach the reflector or socket.
A dead high beam indicator fails a vehicle, as does physical damage that would obviously push a headlight beam above or below horizontal, or left or right of vertical. That is how the state catches a headlight knocked out of aim.
Turn signals and stoplights are checked with the headlights on and the engine running, though a signal that fails to self-cancel is specifically not a reason to reject. Some lamps are left alone entirely: side markers, parking lights, four-way flashers, backup lights, interior lights, the license plate light, and clearance lights.
Steering, suspension, and exhaust: the ones you feel before you see
These usually announce themselves as a noise or a vague feel in the wheel before an inspector ever measures them.
Steering wheel free play has hard limits: more than two inches of movement in a wheel up to and including 18 inches in diameter, or more than three inches on a larger wheel. A steering gear that binds or jams other than at the wheel stops fails too, as does a slipping or frayed power steering belt, fluid below the manufacturer’s minimum, or hoses leaking enough to cause droplets.
Wheel and bearing play is measured too. On vehicles rated 10,000 pounds GVWR or less, more than 1/8 inch of movement between drum and backing plate fails. Front wheel movement fails past 1/4 inch on wheels 16 inches or smaller, 3/8 inch up to 18 inches, and 1/2 inch above that. Ball joints fail for any free play in a nonload-carrying joint, or movement in a load-carrying joint beyond the manufacturer’s tolerance.
Suspension rejections are mostly about parts that are broken or no longer attached: springs or torsion bars loose or missing, shackles or U-bolts worn or loose, and a shock absorber that is missing, disconnected, broken, or riding on worn-out bushings.
The exhaust system is inspected with the engine running. Any loose or leaking component fails, along with a muffler, pipe, or tailpipe with holes or leaking seams. Two more catch older trucks here: no part of the system may be supported by wire, and every component has to be held by proper hardware such as bolts, brackets, clamps, or hangers. A hanger that let go hauling a loaded trailer is a written rejection item even if the truck sounds fine.
The driveway check you can do the weekend before
None of this requires tools. Give yourself twenty minutes and a helper:
- Lights. Have someone stand outside while you run headlights, high beams, brake lights, and both turn signals. Check the high beam indicator, and the lenses for cracks or tape.
- Wipers. Run them on a wet windshield, looking for torn rubber, bent arms, and spots where the blade lifts off.
- Horn. Press it. It has to be audible, and the button firmly mounted and easy to reach.
- Windshield. Note the path the wipers sweep, then look at any chip or crack against it. Damage inside that path matters most.
- Tires. Look across the whole face of each tire, not just the middle, for smooth spots, exposed cord, cuts, and bulges.
- Wheels. Look for missing lug nuts and obvious rim damage.
- Exhaust. Start the engine and listen from outside for a new rattle or blowing sound underneath.
- Brakes, steering, and the parking brake. Note anything you have been living with: a sinking pedal, a pull to one side, a clunky wheel, or a parking brake that will not hold on one of our hills.
The first seven you can settle yourself. The last one is what a bay is for.
What happens if your vehicle does not pass
Failing is not the end of the day, and it is not a mystery either. When a component misses the minimum standard, the defect codes and descriptions go on the safety inspection certificate. Where a defect has a prescribed tolerance, the inspector’s actual measurement goes down with it, so you get numbers, not opinions.
You keep control from there. The owner has to be told of the right to take the vehicle elsewhere for repair, and if you want the inspecting station to do the work, you must be given a written estimate, in print or digital form, of the total cost before anything begins.
When you come back, you present the rejection notice, and the reinspection covers only the rejected components, not the whole vehicle again. The rules address vehicles returned within twenty consecutive days, excluding Saturdays, Sundays, and state holidays, so it pays not to let the repair drift.
Pass, and the sticker is issued immediately and applied by the mechanic who did the work. The certificate you take with you is good for 60 days, which is why timing your visit near your renewal beats getting it done far in advance.
On cost, we will not print a number here, and be skeptical of any shop that does in a blog post. What you pay depends on the parts your vehicle takes, the labor the job requires, and what the inspector found. Ask us for a current quote and you will get a real one for your vehicle.
Getting your Missouri safety inspection done in Osage Beach
Vehicles at the Lake of the Ozarks live a harder life than their mileage suggests. Boat and trailer duty loads the brakes and suspension, gravel throws rock at the glass, summer heat kills wiper rubber, and a vehicle that sits for weeks develops its own small faults. All of it lands on the same statewide checklist.
So look the vehicle over yourself first, then bring it in with time to fix anything real before your renewal comes due. That is easier in the shoulder seasons than in the middle of a lake summer.
Ready to get it handled? Schedule an appointment at our Osage Beach shop and we will take it from there.